How to Install Your Mount Brook Locking Medicine Cabinet: A Step-by-Step Guide
Step-by-step guide to installing a Mount Brook locking medicine cabinet on drywall: mark, anchor, screw. Includes images & video.
Ready to organize your space and keep your medicines secure? Installing a locking medicine cabinet is simpler than you might think — no DIY experience needed! We’ve created this easy-to-follow tutorial so you can have your cabinet mounted in just three straightforward steps.
Feel free to watch the video tutorial for a quick walkthrough, or scroll down to follow the illustrated step-by-step guide at your own pace.
Important Note: The included anchors and screws in the Mount Brook medicine cabinets are specifically for drywall installation. If your wall is made of tile, concrete, brick, or another material, please consult a professional or ask for advice at your local hardware store to ensure proper installation.
The Mount Brook locking medicine cabinets below are compatible with this installation guide and include the necessary drywall anchors and screws. Choose the size and style that fits your space to keep medications secure and neatly organized!
If you prefer a visual walkthrough, we’ve put together a quick video that shows how to install and organize your locking medicine cabinet. Watch the video below for the full demonstration:
If you prefer reading or want a closer look, here’s the text and image version of the tutorial.
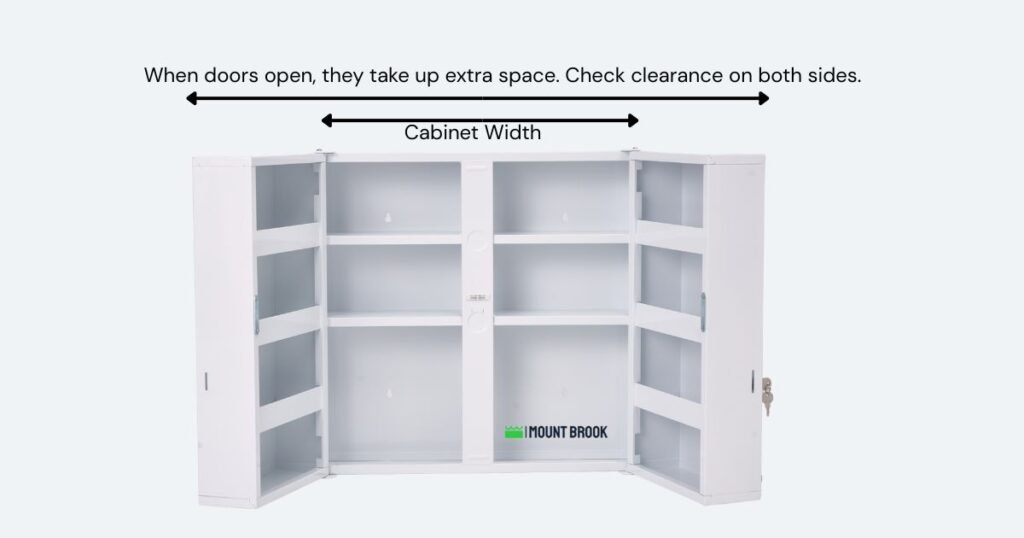
Important Note: Before you begin, make sure there’s enough space around the cabinet for the door to open fully. For example, our 11-shelf large medicine cabinet (in the image below) has doors with some width – when they swing open, they take up extra space. Double-check clearance on both sides to avoid hitting walls, mirrors, or nearby fixtures. For tips on proper placement, check out our medicine cabinet height guide.
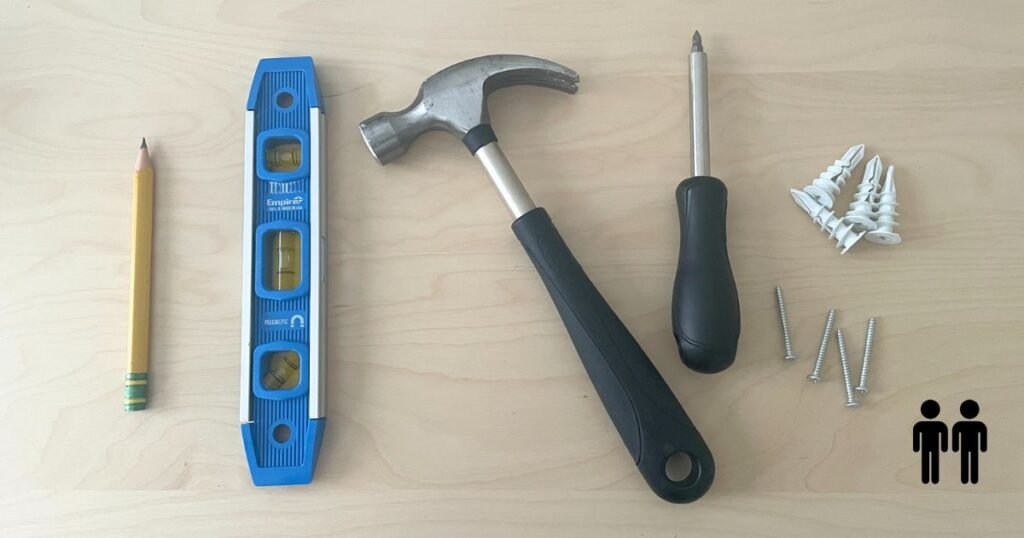
Have someone else to hold the Mount Brook cabinet up to the wall where you want to mount it. Make sure it’s at the right height ideally – centered at the eye level of the person who will use it most often.
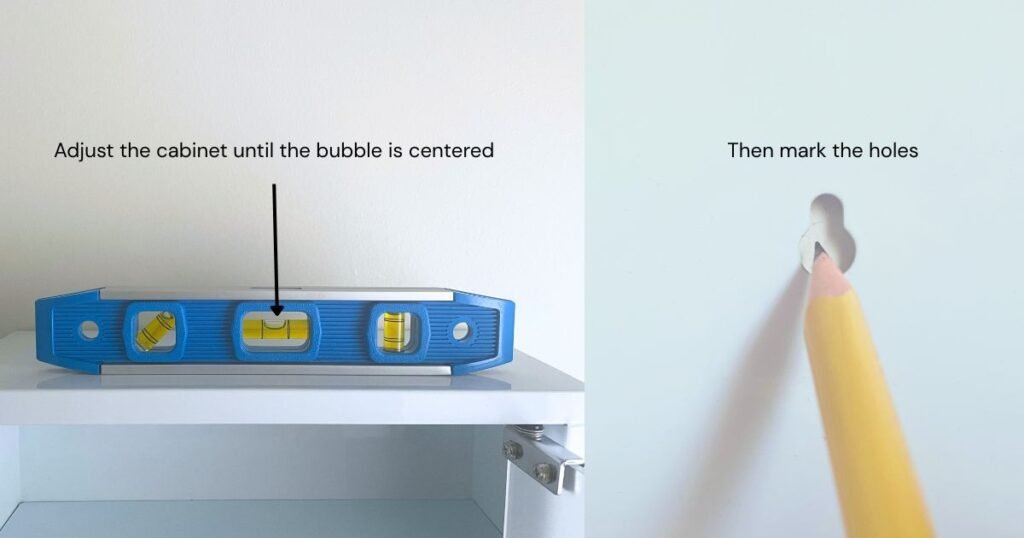
Once it’s in position, grab your level and place it along the top edge of the cabinet. Adjust it until the bubble is centered – this ensures your cabinet will hang straight. Once it’s level, double-check and mark all the four mounting points.
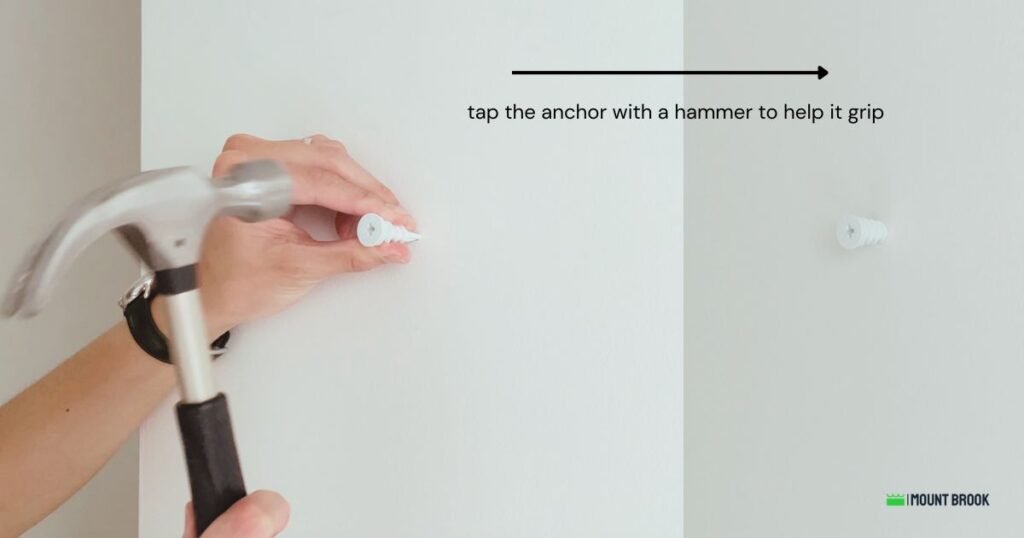
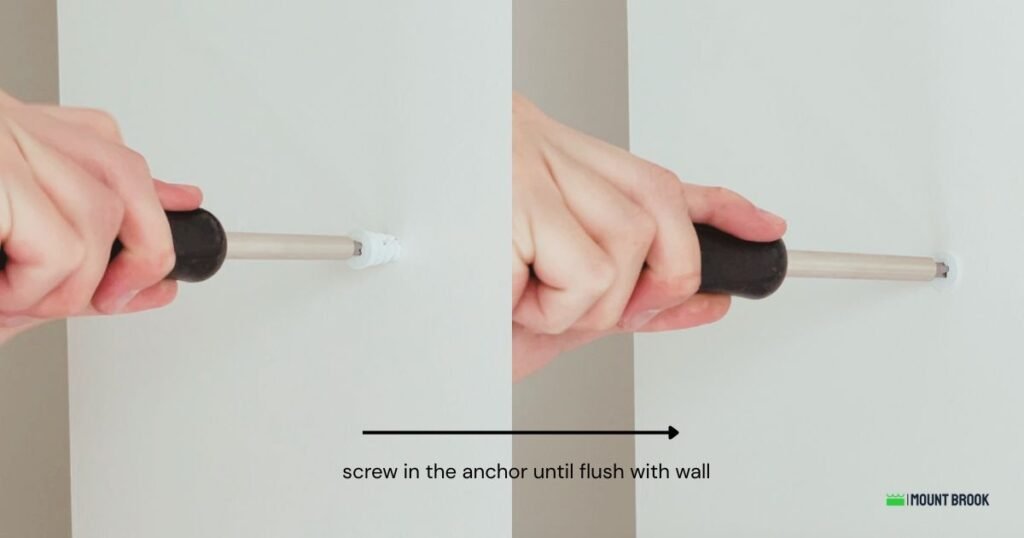
The included wall anchors are self-tapping, so there’s no need to pre-drill holes. Simply position each anchor at the marked spot on the wall and begin screwing it in using a screwdriver.
If the wall surface is firm or the anchor has trouble getting started, gently tap it with a hammer to help it grip. Once it’s stable, continue turning the anchor until it sits flush with the wall surface.
Reminder: These anchors are for drywall. For other wall types, use appropriate anchors recommended by a professional or your local hardware store.
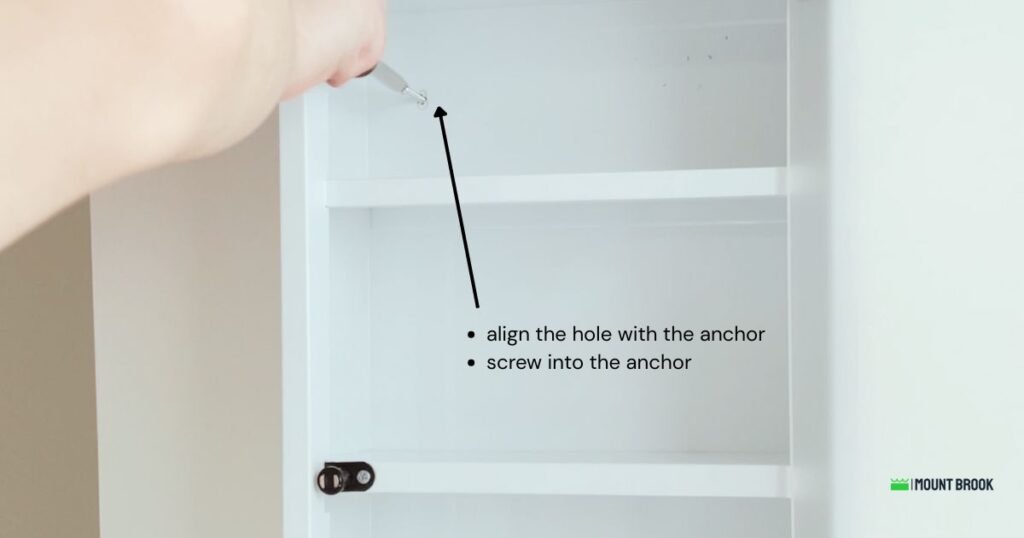
Carefully lift the cabinet and align the mounting holes on the back with the installed wall anchors. Having a second person help hold the cabinet in place can make this step easier and safer.
Insert the included screws through the cabinet holes and into the wall anchors. Tighten them until the cabinet is firmly secured to the wall – be careful not to overtighten.
Open and close the door to make sure it swings smoothly and the cabinet feels sturdy. Adjust or retighten screws if necessary.
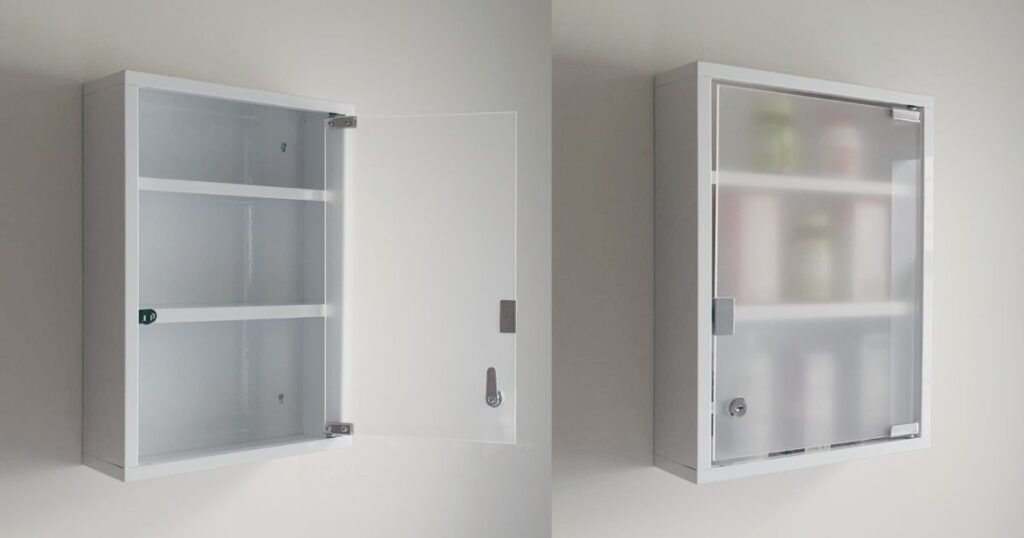
Congratulations! Your Mount Brook locking medicine cabinet is now installed and ready to use. Start Organizing!

Step-by-step guide to installing a Mount Brook locking medicine cabinet on drywall: mark, anchor, screw. Includes images & video.

Learn how to dispose of expired vitamins safely by following disposal instructions, using medication kiosks, and joining drug take-back events.
Master medicine cabinet height for comfort and safety. Get tips on clearance, placement above faucets, and selecting the best size for your space.

Keep your medications organized, safe, and effective. This guide explains the storage spots in your home to protect your medicines from heat, moisture, and children.